Wonderful (Gluten Free) Waffles!
When, for any reason, you stop eating any kind of food, there are two main and opposing approaches. One is to try madly to replicate the food you are avoiding – which I think generally leads to some frustration, as you never will get the exact same taste and texture, and in many cases just leaves you still craving the missing foods. But that approach gives us artificial sweeteners and gluten free cake mixes… and it is the most common. (It is also the one that most benefits food corporations, but that’s another post…)
The opposite approach is to concentrate on meals that don’t need that food anyway. You may have noticed that I go in that direction – with unsweetened granola and dinners served with rice and quinoa. I feel that, in the long run, it is easier – I don’t resent my baked potato for not tasting like a dinner roll, I just enjoy it as a baked potato… but it does require a mental shift. And while many people come to it eventually, most don’t start there, especially if the dietary change was not voluntary.
There is a middle ground… It may be found by a person following the first path but starting to ease over, or it may be the exception for the person following the second path… For me, while I rarely eat anything sweet other than plain fruit, I do want a few exceptions for a special occasion – so chocolate pudding and all fruit cranberry sauce. And, while I am happy to eat corn tortillas and brown rice much of the time, I also eat muffins. And I’m looking at waffles, which can fill in nicely for a slice or two of bread.
I’d been looking at waffles a year ago anyway… my antique cookbooks have whole sections about them. They weren’t served just for breakfast. Creamed chicken and waffles is still a classic in some parts of the country, and I have other recipes using them instead of patty shells. They were used as dessert, too – I have waffle recipes based on cake recipes. And it seems that the Modern Young Woman living daringly on her own in a Studio might have one of those new electric waffle irons, and invite a few friends for a fashionable little Supper – waffles with various toppings, both savory and sweet. Quite modish! So chic!
They’re starting to perk up into the general cultural awareness in this way, again, too. Belgian waffles are lovely things, but I had my first at the Belgian Pavilion at the World’s Fair 50 years ago – we can hardly call them new any more… (I remember Belgium’s carousel better than their waffles – I was pretty little.) We’re returning to the American style – flatter and firmer. They certainly never left the breakfast table, but… now I’ve seen sandwiches built on them. (And I’m told that a waffle sandwich in a lunchbox makes a kid look lucky, not weird – which can be important if the other kids think his whole grain or gluten free sandwich bread is weird…) There are frozen gluten free waffles, and gluten free waffle mixes… but they are also not hard to make. Moreover they freeze and then reheat really well in a toaster or toaster oven… I make a batch and then heat them as I want to use them.
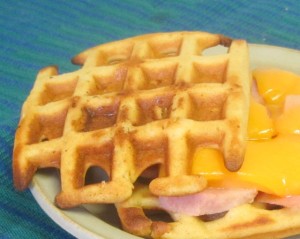
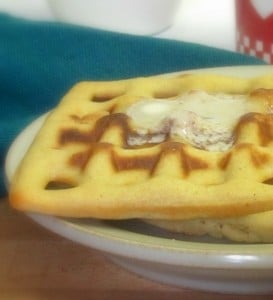
I started here with just a very simple, basic recipe that can then be used for either sweet or savory meals. I’ve had them with just a dab of butter, Rich has used syrup, and I’ve also made sandwiches (which are even better when they are heated… and the cheese melts…)
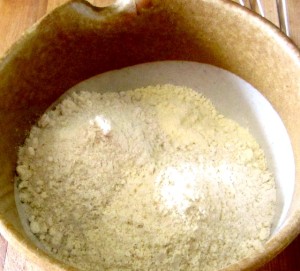
First I mixed together my dry ingredients. I chose to use millet flour, which I like as a mild base, sorghum flour because it adds some flavor, and a little masa harina, because I find it improves texture. (If corn is an issue for you, use sweet rice flour instead.) I measured them, by weight, into my bowl, added salt and baking powder, and used a whisk to mix them thoroughly. (No, this bowl is not big enough for a full whisking motion – but I find just using it and turning it does a better job of blending than any spoon.)
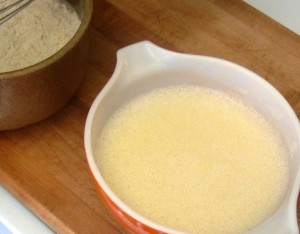
Then my wet ingredients. For waffles, I really do beat the eggs until they are frothy, not just mix them until they are sort of smooth… it makes a difference in texture. Then I beat in milk and either oil or melted butter or other fat. (I just used oil this time.) Yes, there is much more than you would put in a pancake… waffles do need it.
And I poured the wet into the dry, and mixed it in until it blended completely. Then I set the batter aside to let the flour hydrate while I heated the waffle iron.
At this point, the Your Mileage Waffle Iron May Vary factor kicks in. I have used old irons and new ones, expensive elaborate ones and cheap ones, and everything else along the way – I have demonstrated several of them in stores, as well as using my own and ones belonging to family and friends. They work differently and I have found no clear pattern… I can’t tell you how long each batch will take, or even how many waffles you’ll get from the recipe because the size varies so much!
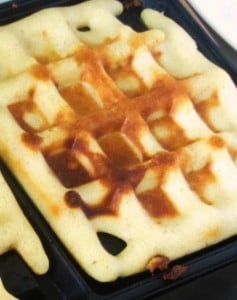
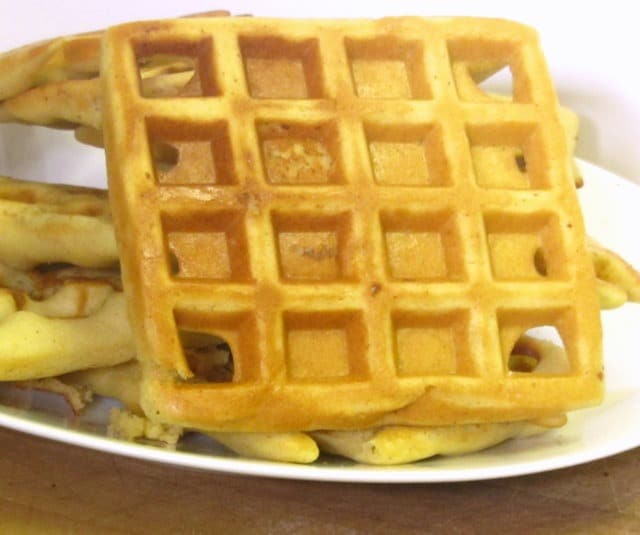
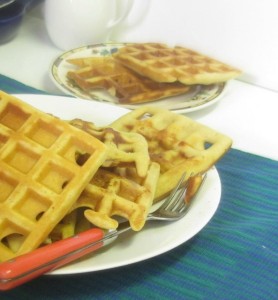
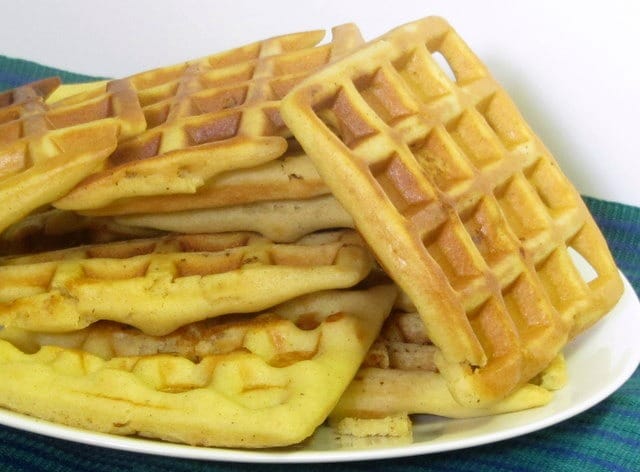
There are a few constants. Definitely heat the iron well first. Either pour the batter from a pitcher or use a ladle. Accept that even on the best irons, your first waffles of the batch may not come out well. Even on the worst, your waffles will probably improve as you go (look at the pictures – I got some very evenly brown ones right at the end of the batch… though the earlier ones were cooked but uneven.) If you go to open it and the lid doesn’t lift, don’t yank it – the waffle is not yet fully cooked. (I don’t care if the Ready light is on! if it has a ready light… ) And above all – as you use it and get used to your own machine, it will get easier with each batch.
But all that means I can’t tell you much more than “Now make your waffles.” Sorry about that…
So, anyhow – make your waffles. I piled them up to be pretty, but really – if the family is eating them all now, have them start right away, while the waffles are hot and crisp. (I know you’re teaching the kids to wait politely for you to sit down. Let this be the exception…) Or, spread them out on a baking sheet and put them in a low oven to keep warm. Piled up like this, the bottom ones can get soggy… If you’re going to use them later, spread them out on a baking sheet to cool. (I did that with most of them, and ate the last ones right away.) Once they are cool, bag them, and put them in the fridge if you’re going to use them in a day or so, in the freezer to keep longer. Then heat them, either one or two at a time in the toaster, or spread them out again on that baking sheet, and pop them in the oven at 400° for five minutes.
And enjoy!
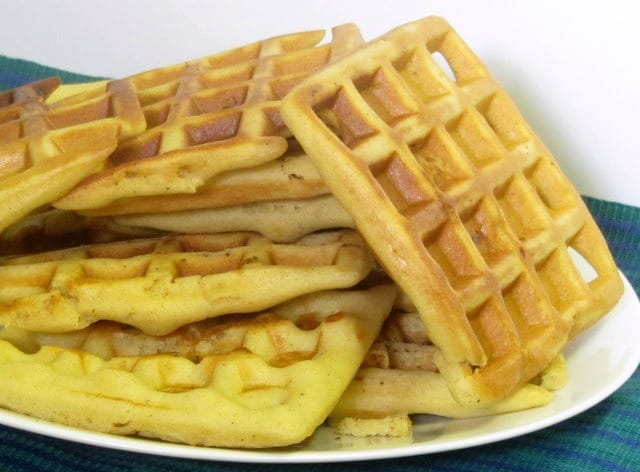
Wonderful (Gluten Free) Waffles!
Ingredients
- 80 g millet flour
- 80 g sorghum flour
- 50 g masa harina
- 1/2 salt
- 2 t baking powder
- 2 eggs
- 2 T oil or melted butter
- 1 c milk
Instructions
- Mix the dry ingredients thoroughly in a bowl.
- Beat the eggs until frothy. Add the oil and milk, beat again.
- Mix the wet ingredients into the dry. Set the batter aside.
- Heat your waffle iron. Follow its directions to bake waffles.

I am *highly* amused that I found http://foodinjars.com/2015/04/cookbooks-will-it-waffle-giveaway/ right after this post in my feed reader! ;D