Mom’s Baked Chicken
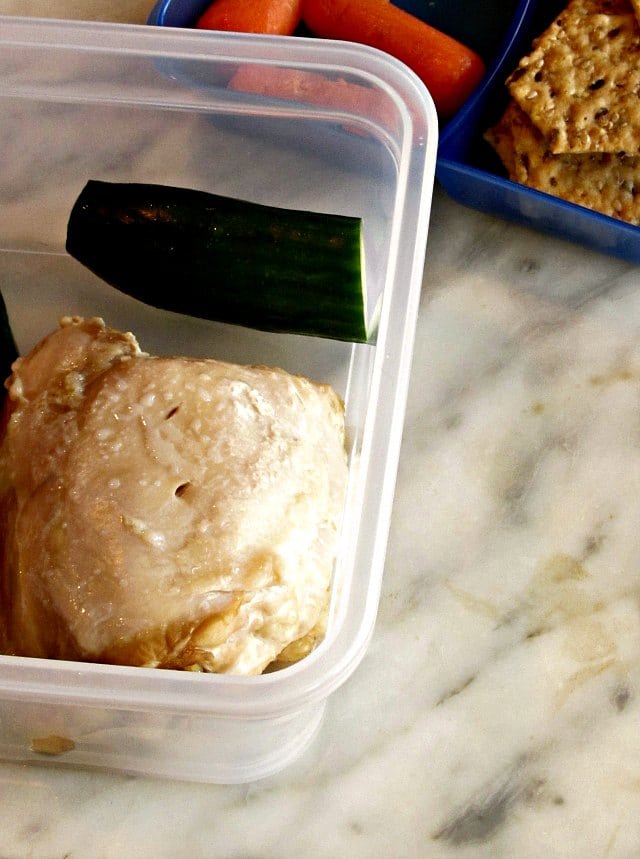
Keep this simple baked chicken on hand. It’s good hot or cold, great in a lunch box or used the way you would a rotisserie chicken.
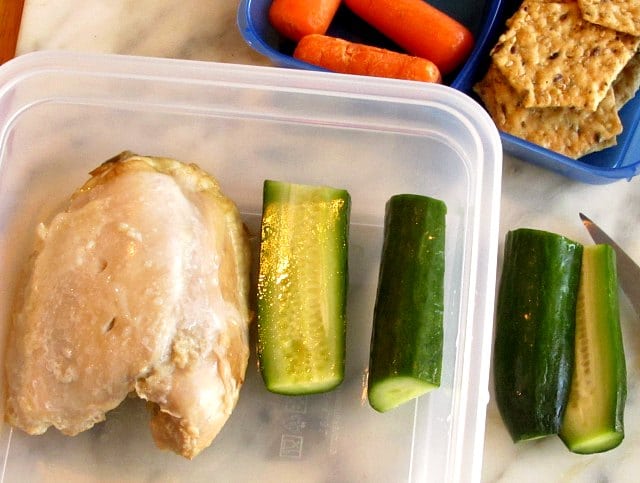
Another oldie but goodie, about a fundamental recipe. I’ve updated with new pictures, and a few comments and changes along the way.
Well, there is fried chicken – which, when made well, is wonderful – but which does take some fuss (and can be remarkably awful when made poorly…)
And there is roast chicken, which is really easy, but for some reason intimidates people – and does take time. And then you do have a chicken to cut up – not a big deal, really, but not entirely without effort.
So then, when I was a child, there was Oven Fried Chicken, which was usually slathered in butter, and then Shake and Bake came out, to give you the seasoned breading. But my mother looked at all the above – and looked at chicken, which comes provided with plenty of its own fat, thank you, and which she didn’t think needed breading. So she would buy a quartered chicken, place the pieces on a baking sheet, sprinkle with the flavorless paprika I mentioned in another post (for color) and bake it. It was one of our favorite dinners, certainly one of hers, and we must have eaten it almost every week…
It is really a very useful recipe to have in your basic repertory. It couldn’t be easier, it is as good cold as hot, it travels well, it reheats well in a microwave… When I worked in daycare, one family obviously baked a tray of chicken every couple of days, and sent baked chicken pieces almost every day for the children’s lunch. (My mother was certainly not the only person to figure it out!) You can do a full quartered chicken as Mom did if your family likes both kinds of meat (and you can buy a whole chicken, quarter it yourself, and save the back for soup, if you want to fuss… or not…)
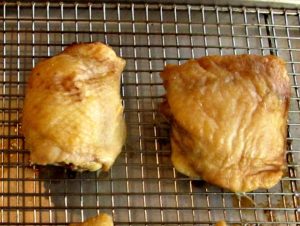
But the big Family Packs of chicken pieces make it just incredibly easy to cook an oven full of, say, thighs or drumsticks, and then freeze the cooked pieces to have on hand. I did that when I was working shows – I could carry chicken and eat it cold, and Rich could microwave it and have a decent dinner that he could fix easily. We lived on chicken and meatloaf in tech week… Drumsticks are very popular with children, too, once the children are old enough to manage the bones. (Might even help you ease away from chicken nuggets, if that’s an issue for you…) You can certainly bake breasts, too, we just prefer dark meat… and I’m more likely to bone breasts and use them in sauteed recipes. To each her own.
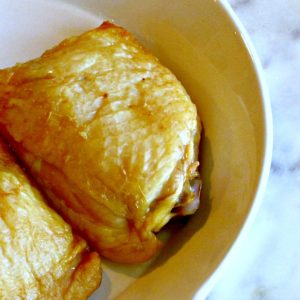
Now that I’m cooking for the parents, they also prefer dark meat. Mom has some trouble cutting meat off the bone, but she does enjoy picking a bone up and nibbling from it – we’ve taken to cutting most of the meat off and into bite sized pieces for her, but leaving the bone with enough to gnaw… I also find a thigh easy enough to handle myself in a packed meal, though I generally discard the skin first.
Directions for Baked Chicken
Preheat the oven to 375°. Or 350°, or 400°, if you want to bake something else at the same time… it’s very flexible, When I was cooking in a dorm, I worked up a whole chart of temperatures and times, so I could pop my little dish with chicken in with anything else anyone else on the floor was baking.
These days, I almost always use 400°, unless, again, I have something else that needs the lower temperature. So I changed the recipe to reflect that.
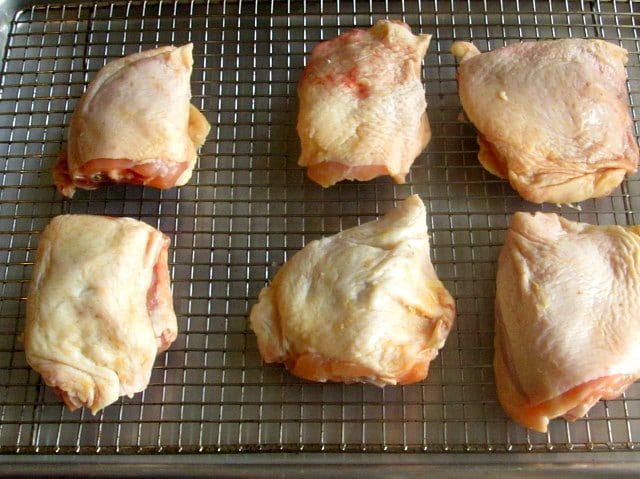
Put the chicken pieces on a baking pan. Now, I have a fancy half sheet pan with a rack, so I use it (though the rack is a pain to wash.) Mom just put hers right down in the jelly roll pan she used for almost everything. The advantage to the rack is that the fat drips off, so the chicken isn’t greasy, but you can do it either way. Do make sure you have a pan with a lip – no cookie sheets – because the fat will cook off and you don’t want it dripping in your oven. (And if you don’t have a rack, but do have a silicone sheet, use it!)
I’ve seen recipes that tell you to put seasoning of various kinds on the chicken – but it just sits on the skin, and doesn’t flavor anything but that skin. If everyone is going to eat it nice and crisp out of the oven, go right ahead… salt and pepper, herbs, spices – have fun. (I used to use a touch of soy sauce for the color.) We find that when it is chilled (or reheated) the skin gets soggy, and we usually don’t eat it – so I don’t usually bother.
Equally, people used to suggest removing the skin but a series of scientific tests proved what every cook already knew – cooking without the skin does not make much difference (if any) to the fat content of the meat, but allows it to dry out badly. Keep the skin on to cook, then eat it or not, seasoned or not, as you choose.
I sometimes marinate the meat first – but that’s really a whole other post!
Then just put the pan in the oven… Time is going to vary, with the size of your pieces of chicken (and to some degree, with your oven.) It could take an hour to cook large breast pieces, but only 25 minutes for a pan of drumsticks. Thighs are usually 30-40 minutes, depending on their size. An instant read thermometer is Your Friend. Poultry should, for safety, reach 165° in the biggest piece, but dark meat can be more tender at 170° (though white meat may start drying out!)
And it is done. We ate some, I froze some, I have some in the fridge. There was a very good sale on chicken, so I have baked chicken, and slow cooked simmered chicken, and raw chicken in the freezer – all ready to use at a moment’s notice. It is so much easier to cook dinner quickly if some of the actual cooking has already been done!

Mom’s Baked Chicken
Ingredients
- Chicken thighs may be labeled Fryer or Broiler - may not.
Instructions
- Preheat oven to 400.
- Place chicken pieces in shallow baking pan - on a rack, if available.
- Bake 30-45 minutes, depending on size of pieces, until the thickest part of the meat reads at least 165 on an instant read thermometer.
- Take out and let rest 5 minutes.

Great recipe to have in my back pocket. I loved reading about how your mom used to make it for your family! Makes the recipe that much more special!
I always cook chicken on the weekends to have it prepped for the week. My fave way to use it is in salads. Love that you kept this recipe simple, but delicious! Thanks for sharing your tips too!
it’s always great to know how to make simple roast chicken. it really is so versatile!
You’re right, it’s always great to have a good chicken recipe on hand. I love having leftover chicken for lunches, this recipe looks delicious!
So I looked at the recipe and thought, wait this is too good to be true! But see I never bake my chicken with skin on. That’s about to change! Thanks!
It’s always great to have chicken to hand, I always shred it into salad for easy lunches. Will try out your recipe soon!
Cold chicken is one of my FAVORITE lunches! I love that these can be so easily made ahead of time. Delicious!
I love that this is so simple and it’s always good to have some chicken on hand to toss in a salad or make into a quick dinner!
It is so good to nail the basic recipes! Your mum is so right, chicken has enough fat in the skin to cook down into the meat. Thanks for sharing this.
There is nothing better than baked chicken. Your mom’s version looks like a winning recipe 🙂
Mum’s recipes are always best, aren’t they? such recipes are handy and this chicken recipe is a keeper!
Ahhhh! Perfect for meal prepping. The possibilities are endless – pair it with veggies and grains, and boom!
On the topic of washing the sheet pan: after I’ve finished cooking, I leave the sheet pan on the stove, flip the rack over, and pour a glass or two of water to soak for several hours. When ready to wash, put pan in sink, spray, use metal spatula to shave off particles on bottom and brush to clean rack. Then simply wash with soap and water, rinse; or, figure a way to position in dishwasher. I put our biggest pan in next to last row on lower rack, lean it back, and let the dishwasher soap and rinse from upper jets drop on it. (I’m a senior taking on cooking duties, and this recipe meets my two criteria: delicious and simple.)
Thank you! I’m glad you like the recipe. And thanks for the cleaning tip! We don’t have a dishwasher, and the spatula is a great idea.